Reptile taxidermy presents a unique challenge: perfectly preserving the intricate textures of their scales and skin. This detailed guide explores ten essential techniques, from initial skinning and cleaning to the final finishing touches, ensuring your work captures the natural beauty and realism of these fascinating creatures. We’ll delve into the nuances of tanning methods, form creation, and meticulous detailing to achieve truly exceptional results.
Mastering reptile taxidermy requires precision and patience. Each step, from careful skinning to the application of a protective finish, is crucial in preserving the skin’s texture and achieving a lifelike representation. This guide provides a comprehensive overview of the process, covering essential techniques and offering valuable tips for both beginners and experienced taxidermists. We’ll examine various approaches, allowing you to choose the methods best suited to your specific needs and the type of reptile you are working with.
Preparing the Reptile Specimen for Taxidermy
Proper preparation of the reptile specimen is paramount to achieving a high-quality taxidermy mount with accurately preserved skin texture. Careful attention to detail during each stage—from skinning to tanning—will significantly impact the final result. Neglecting any step can lead to irreversible damage, compromising the integrity of the skin and the overall aesthetic appeal of the finished piece.
Skinning the Reptile
Skinning a reptile requires patience and a steady hand. Begin by making a small incision along the belly, carefully avoiding cutting into the skin. Use sharp, fine-tipped scissors or a scalpel to work your way around the body, separating the skin from the underlying muscle and tissue. For larger reptiles, it may be necessary to make additional incisions to facilitate skin removal. Work slowly and deliberately, using blunt instruments to gently loosen the skin from the body, taking care not to tear or damage the delicate epidermis. Frequent rinsing with water can help to keep the skin supple and prevent it from tearing. Once the skin is completely removed, thoroughly clean any remaining muscle or fat tissue from the inside of the skin.
Cleaning and Degreasing Reptile Hides
Thorough cleaning and degreasing are crucial for preventing decay and preserving the skin’s suppleness and texture. Begin by rinsing the skin in cold water to remove any blood or loose tissue. Then, gently scrub the skin using a mild detergent or enzymatic cleaner specifically designed for taxidermy. Avoid harsh chemicals that can damage the skin’s delicate structure. After washing, rinse the skin thoroughly and allow it to air dry completely. For heavily soiled hides or those from particularly oily species, a degreasing process may be necessary. This typically involves soaking the skin in a degreasing solution, such as a commercial degreaser or a mixture of white gas and Dawn dish soap, following the manufacturer’s instructions carefully. After degreasing, the hide must be thoroughly rinsed and dried again.
Fleshing and Tanning Reptile Skins
Fleshing involves removing any remaining bits of fat, muscle, or connective tissue from the inner surface of the skin. This process is best done using a fleshing tool, a specialized instrument designed for this purpose. Work carefully to avoid damaging the delicate skin layers. Once fleshed, the skin is ready for tanning. Tanning is a crucial process that converts the collagen fibers in the skin from a putrescible state to a stable, non-putrescible one. This prevents decay and makes the skin durable and flexible. Various tanning methods exist, each with its own advantages and disadvantages. The choice of method often depends on the type of reptile and the desired final result. Generally, a gradual tanning process is preferred to maintain the natural texture. This may involve multiple applications of tanning solution over several days or weeks, allowing for adequate penetration and even tanning.
Tanning Methods Comparison
| Species | Tanning Method | Pros | Cons |
|---|---|---|---|
| Snakes (e.g., Corn Snake) | Chrome Tanning | Fast, relatively inexpensive, produces pliable leather | Can cause some shrinkage, may require neutralization |
| Lizards (e.g., Iguana) | Brain Tanning | Traditional method, environmentally friendly, maintains natural texture | Time-consuming, requires specific skills and knowledge |
| Crocodiles/Alligators | Combination Tanning (Chrome & Vegetable) | Combines the speed of chrome tanning with the durability of vegetable tanning | More complex process, requires expertise |
| Turtles/Tortoises | Alum Tanning | Simple, safe, suitable for smaller hides | Less durable than other methods, may result in stiff leather |
Shaping and Sculpting the Reptile Skin

Transforming tanned reptile skin into a lifelike replica requires careful shaping and sculpting. This process involves meticulously fitting the skin onto a pre-made form, addressing any imperfections, and achieving a natural, smooth texture. The accuracy of this stage directly impacts the final realism of the taxidermied specimen.
The process begins with carefully stretching and manipulating the tanned skin over the appropriately sized form. This requires patience and a gentle touch to avoid tearing the delicate material. Pins, clamps, or specialized adhesives can be used to secure the skin in place, ensuring a snug fit that accurately reflects the reptile’s musculature and proportions. Small incisions may be necessary to accommodate the form’s shape, particularly in areas of complex anatomy like the limbs or head. These incisions should be strategically placed and carefully stitched closed later, minimizing visibility. Careful attention must be paid to the natural folds and wrinkles of the skin, replicating these details as accurately as possible to maintain anatomical accuracy.
Restoring Damaged Reptile Skin
Repairing damaged areas of reptile skin is crucial for achieving a high-quality taxidermy mount. Tears and holes can be mended using thin strips of compatible leather or a specialized skin patching material. The patching material should be carefully colored and textured to blend seamlessly with the surrounding skin. Small imperfections, such as minor scratches, can often be filled and smoothed using a suitable filler compound. This compound should be carefully matched to the skin’s color and texture to avoid creating noticeable blemishes. Once the repair is complete, the area should be carefully blended to create a natural appearance.
Reptile Taxidermy Form Materials
The choice of form material significantly influences the final result. Traditional forms are often made from polyurethane foam, offering a lightweight and durable base that can be easily carved and shaped. These forms are readily available commercially in various sizes and species-specific shapes. Alternatively, forms can be sculpted from modeling clay, offering greater flexibility in achieving custom shapes and sizes. However, clay forms require more skill and time to create and may require additional reinforcement to maintain their structure over time. Regardless of the material, the form should accurately reflect the skeletal structure and musculature of the reptile species being mounted.
Smoothing and Softening Reptile Skin
Achieving a naturally smooth and soft texture in the finished mount is paramount. Several techniques contribute to this goal:
- Careful Thaw and Hydration: If the skin was frozen, ensure it’s thawed slowly and evenly to prevent cracking.
- Application of Natural Oils: Carefully applying small amounts of lanolin or neatsfoot oil can help to soften and condition the skin, improving its flexibility and reducing stiffness.
- Gentle Stretching and Manipulation: Repeatedly stretching and manipulating the skin while it is moist helps to loosen the fibers and improve suppleness.
- Use of a Humid Environment: Placing the mounted skin in a humid environment for a short period can help to relax the fibers and reduce wrinkles.
- Careful Finishing: Once the skin is properly shaped, a final pass with a soft brush can help to remove any residual debris and create a smooth finish.
Finishing and Detailing the Taxidermy Piece

Achieving a truly lifelike reptile taxidermy piece requires meticulous attention to detail in the final stages. This involves carefully restoring the natural coloration, recreating subtle textural elements, and applying a protective finish to ensure longevity. The goal is to create a piece that is not only accurate in its representation but also visually stunning.
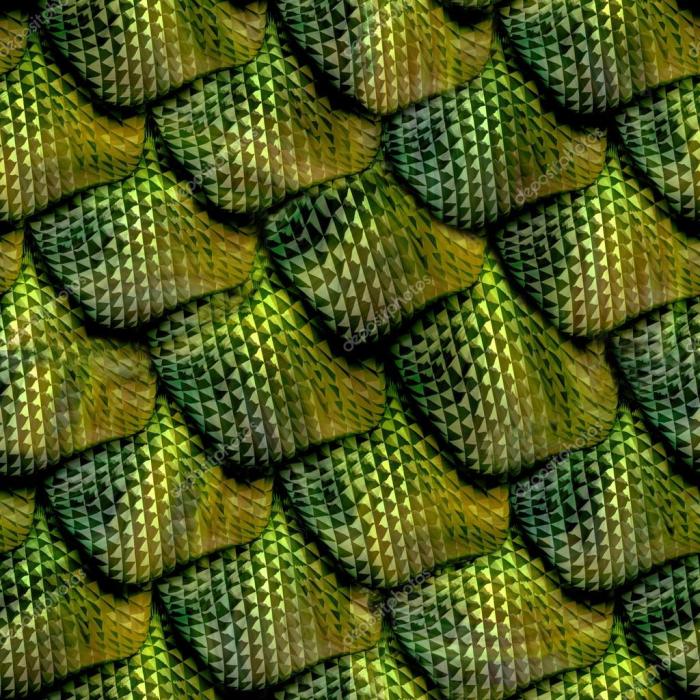
Accurate color matching and painting are crucial for restoring the natural appearance of the reptile skin. The process involves selecting paints that closely mimic the original hues and applying them in thin, even layers to avoid obscuring the underlying texture. Careful observation of the original specimen, coupled with the use of high-quality acrylic paints, is essential for achieving a realistic result. Blending techniques are vital to creating smooth transitions between colors and avoiding harsh lines. For instance, when working with a chameleon, gradual transitions between greens, blues, and browns are essential to replicate its natural color-changing capabilities.
Color Matching and Painting Techniques
The selection of paints is paramount. High-quality acrylics offer excellent color fidelity and durability. A range of colors should be mixed to achieve precise matches, avoiding the use of pre-mixed shades that may not be entirely accurate. Thin layers are applied to prevent obscuring details, with each layer allowed to dry completely before the next is applied. A fine-tipped brush is used for precise work, while larger brushes can be used for broader areas. Water-based mediums can be used to thin the paints and create smoother transitions. The use of a color chart or reference images from the original specimen is highly recommended.
Recreating Subtle Details
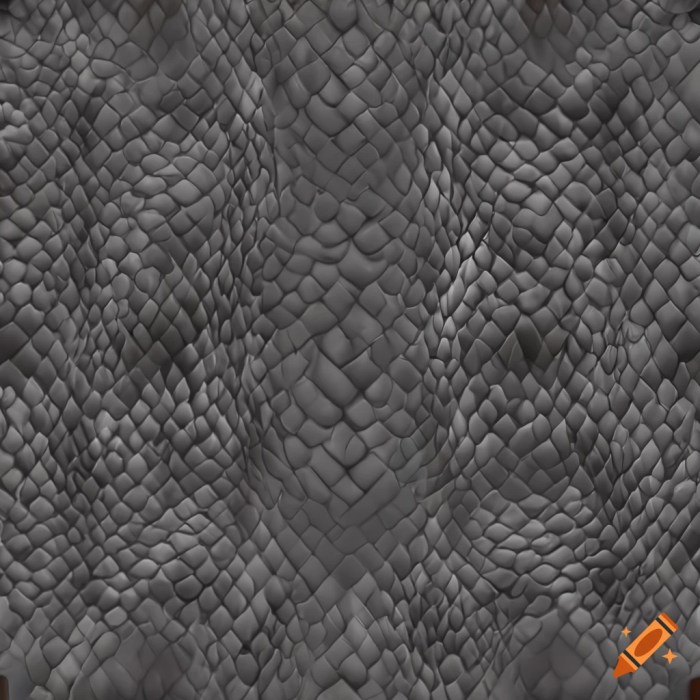
Subtle details, such as scales and patterns, are critical for realism. These details can be recreated using a variety of techniques. Fine-tipped brushes and carefully selected paints are used to define individual scales, ensuring that their size, shape, and arrangement accurately reflect the species. Patterns, such as stripes or spots, are meticulously replicated using the same techniques, paying close attention to their size, spacing, and distribution. For example, the intricate pattern on a snake’s scales requires patience and precision to accurately recreate.
Applying a Protective Finish
A protective finish safeguards the taxidermy piece from damage and discoloration. Several finishes are suitable, including clear acrylic sealants. These sealants protect the paint and the underlying skin from moisture, UV damage, and dust. The sealant should be applied in thin, even coats, allowing each coat to dry completely before applying the next. This ensures a uniform finish without creating a thick, glossy layer that could obscure details. Over-application should be avoided to prevent cracking or yellowing over time.
Realistic Eye Placement and Detailing
Realistic eyes significantly enhance the overall appearance of the taxidermy piece. The eyes should be carefully positioned and sized to match the proportions of the head. High-quality glass eyes are often preferred for their lifelike appearance. The eyes are inserted into the eye sockets and secured with a suitable adhesive. Fine details, such as highlights and reflections, can be added to the eyes using a fine-tipped brush and specialized paints. The surrounding area of the eye can be meticulously painted to match the natural coloration and texture of the reptile’s skin.
To create realistic eyes, consider the subtle nuances of light reflection and coloration. A slightly darker shade around the pupil creates depth, while carefully placed highlights can simulate a wet or glossy look. Remember that the eyes are a focal point, so accuracy is crucial.
Conclusive Thoughts
By carefully following these ten taxidermy techniques, you can elevate your reptile preservation skills to a new level. From the initial preparation of the specimen to the final application of a protective finish, each step plays a vital role in achieving a realistic and aesthetically pleasing result. Remember that patience and attention to detail are key to success in this intricate art form. The reward is a beautifully preserved piece that captures the unique beauty and character of the reptile, a testament to your skill and dedication.