The intersection of traditional taxidermy and cutting-edge digital fabrication techniques presents a fascinating evolution in the art of preserving and showcasing animal specimens. This exploration delves into four modern approaches, examining how historical methods are enhanced and redefined by the precision and creative potential of digital tools. We’ll traverse the historical context of taxidermy, highlighting ethical considerations, before diving into the practical applications of 3D scanning, printing, and modeling in creating lifelike replicas and custom displays. The blend of these traditional and digital skills opens up new avenues for both artistic expression and scientific preservation.
This examination will reveal how digital fabrication addresses the limitations of traditional methods, allowing for more accurate representations, repairs of damaged specimens, and the creation of innovative, customized mounts. We will consider the advantages and challenges inherent in this hybrid approach, showcasing specific examples of projects where the fusion of these techniques has yielded remarkable results, impacting both the artistic and scientific communities.
Traditional Taxidermy Techniques in a Modern Context
Taxidermy, the art of preserving animal bodies, boasts a rich history intertwined with scientific exploration and artistic expression. Its evolution reflects advancements in both biological understanding and material science, shaping modern practices in significant ways. This section will explore the historical trajectory of taxidermy, compare traditional and contemporary approaches, and consider the ethical implications of this practice within the broader context of conservation.
Early taxidermy, dating back centuries, involved rudimentary methods often resulting in crude, stiff representations of animals. These early techniques relied heavily on stuffing the animal’s skin with readily available materials like straw, sawdust, or even rags. The development of arsenic-based preservatives in the 18th and 19th centuries marked a significant turning point, allowing for better preservation and reducing decomposition. This period also saw the rise of professional taxidermists, who began to develop more refined techniques, focusing on accurate anatomical representation and lifelike poses. The invention of mannikins (artificial forms) in the late 19th century further revolutionized the field, providing a more stable and anatomically correct base for mounting specimens.
Traditional Taxidermy Methods Compared to Contemporary Approaches
Traditional taxidermy methods, characterized by the use of arsenic-based preservatives and stuffing techniques, are increasingly being replaced by more sophisticated contemporary methods. Modern taxidermists utilize advanced materials such as polyethylene foam mannikins and specialized tanning solutions, offering improved durability and lifelike results. Contemporary techniques also emphasize meticulous anatomical accuracy, often involving detailed study of skeletal structures and muscle placement to achieve realistic poses and expressions. While traditional methods prioritized preservation above all else, modern practices strive for a balance between accurate representation and the aesthetic appeal of the finished piece. The shift towards more environmentally friendly materials is also a key difference, with many taxidermists now opting for less toxic preservatives and sustainable sourcing of materials.
Ethical Considerations in Traditional Taxidermy and Conservation
The ethical considerations surrounding taxidermy, particularly traditional methods, are complex and multifaceted. The use of animals for taxidermy raises questions about animal welfare and the sustainability of the practice. Modern taxidermy often prioritizes the use of animals that have died of natural causes or have been ethically sourced, for instance, roadkill or animals euthanized for humane reasons. However, concerns remain regarding the potential for illegal poaching and the impact of the practice on vulnerable species. In contrast, traditional taxidermy often lacked such considerations, leading to the overexploitation of certain species for specimens. Today, responsible taxidermy plays a small but important role in conservation efforts by providing educational tools and research specimens for museums and universities. Properly prepared specimens can contribute to scientific understanding of animal anatomy, morphology, and ecology.
Lifespan and Maintenance of Traditional Taxidermy Methods
| Method | Lifespan | Maintenance | Materials |
|---|---|---|---|
| Straw stuffing | Short (5-10 years, highly variable depending on climate and insect infestation) | Regular inspection for pest damage, potential for significant restoration needs. | Straw, arsenic-based preservatives (historically), glue, thread. |
| Sawdust stuffing | Moderate (10-20 years, highly variable depending on climate and insect infestation) | Regular inspection for pest damage, potential for significant restoration needs. | Sawdust, arsenic-based preservatives (historically), glue, thread. |
| Cotton stuffing | Moderate (15-25 years, highly variable depending on climate and insect infestation) | Regular inspection for pest damage, potential for significant restoration needs. | Cotton, arsenic-based preservatives (historically), glue, thread. |
| Early Mannikin Mounting (pre-foam) | Long (30-50+ years with proper care) | Periodic inspection for damage, potential for minor repairs. | Wood or papier-mâché mannikin, arsenic-based preservatives (historically), glue, thread, paint. |
Digital Fabrication Techniques for Taxidermy Enhancement
Digital fabrication techniques are revolutionizing the field of taxidermy, offering unprecedented levels of precision, customization, and repair capabilities. By integrating 3D scanning, printing, and digital modeling, taxidermists can achieve results previously unattainable through traditional methods, enhancing both the aesthetic appeal and the scientific accuracy of their work. This allows for the creation of highly realistic and detailed replicas, as well as the restoration of damaged specimens to their former glory.
3D Scanning and Printing for Accurate Replicas
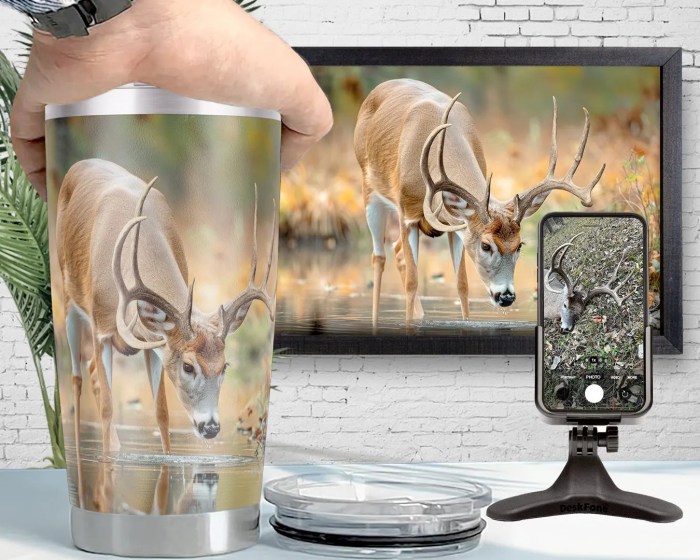
3D scanning provides a highly accurate digital representation of an animal specimen, capturing intricate details that would be difficult or impossible to replicate manually. This digital model can then be used to create incredibly detailed replicas through 3D printing, allowing for the production of study specimens, museum exhibits, or even replacement parts for damaged taxidermy. The process begins with scanning the specimen using a high-resolution 3D scanner, ensuring accurate capture of surface textures and fine details. The resulting digital model is then processed and cleaned, preparing it for 3D printing. Different printing materials, such as resins or plastics, can be selected depending on the desired level of detail, durability, and finish. The printed replica can then be painted and finished to match the original specimen.
Digital Sculpting and Modeling for Specimen Enhancement and Repair
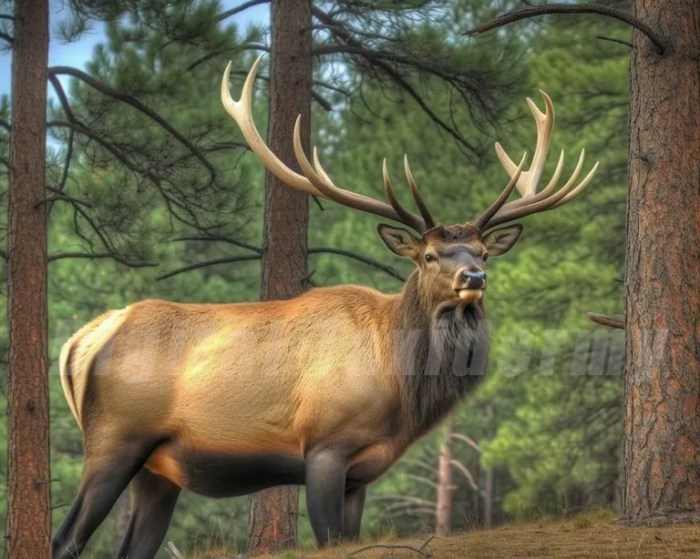
Digital sculpting and modeling software allows taxidermists to virtually repair damaged specimens or enhance existing ones. Software packages such as ZBrush or Blender provide the tools to sculpt and manipulate 3D models, allowing for the addition of missing parts, the correction of deformities, or the refinement of existing features. For instance, a damaged horn can be digitally sculpted and then 3D printed to create a seamless replacement. Similarly, small tears or holes in the skin can be digitally repaired, restoring the overall integrity of the specimen. The repaired or enhanced model is then 3D printed and integrated with the original specimen, creating a visually improved and more accurate representation.
Creating Custom Mounts and Displays Using Digital Fabrication
Digital fabrication opens up a world of possibilities for creating custom mounts and displays for taxidermied animals. Instead of relying on traditional, pre-fabricated mounts, taxidermists can now design and 3D print mounts that are perfectly tailored to the specific needs of each specimen. This allows for the creation of innovative and visually stunning displays that showcase the animal in a unique and compelling way. For example, a custom mount could be designed to mimic a specific habitat, incorporating elements such as rocks, plants, or other environmental features. The possibilities are truly limitless, allowing for the creation of highly personalized and artistic displays.
Designing and 3D Printing a Custom Base for a Taxidermied Animal
Designing and 3D printing a custom base requires careful planning and execution. The following steps Artikel the process:
- Step 1: Specimen Measurement and Design: Accurately measure the dimensions of the taxidermied animal to ensure the base is appropriately sized and proportioned.
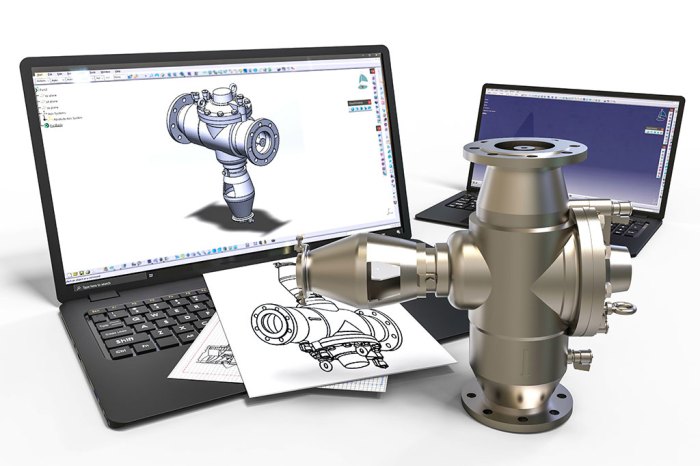
- Step 2: Base Design in CAD Software: Utilize CAD software (such as Fusion 360 or Tinkercad) to create a 3D model of the desired base, incorporating any desired features such as texture, height, or additional elements.
- Step 3: Material Selection: Choose a suitable 3D printing material based on factors such as durability, weight, and aesthetic appeal. Common materials include PLA, ABS, and resin.
- Step 4: 3D Printing: Print the base using a 3D printer, ensuring proper settings are used to achieve the desired quality and finish.
- Step 5: Post-Processing: Clean and finish the printed base, potentially using sanding, painting, or other techniques to achieve the desired aesthetic.
- Step 6: Mounting: Securely attach the taxidermied animal to the custom base.
Designing a 3D-Printed Armature for a Bird
Designing a 3D-printed armature for a bird requires careful consideration of weight, balance, and pose. The armature should be lightweight yet strong enough to support the bird’s body and maintain its desired pose. The design should incorporate strategically placed supports to ensure proper balance and prevent sagging. For example, a wire armature could be designed and then encased in a 3D printed shell to add strength and aesthetic appeal. The weight of the 3D printed material should be minimized to avoid stressing the bird’s delicate structure. The design should also account for the bird’s natural posture and anatomical features, ensuring a realistic and natural-looking pose. Consider using a lightweight material such as PLA and incorporating internal support structures within the design to maximize strength while minimizing weight. For a small bird, a simple, yet strong, branch-like armature might suffice, whereas a larger bird may require a more complex structure with internal bracing.
Hybrid Approaches
The marriage of traditional taxidermy and digital fabrication offers exciting new possibilities for preserving and presenting specimens. By combining the artistry and skill of traditional methods with the precision and versatility of digital tools, taxidermists can achieve results that were previously unimaginable. This synergy allows for both creative expression and the meticulous reconstruction of damaged or incomplete specimens.
This section explores the successful integration of traditional taxidermy with digital fabrication, examining its advantages and disadvantages, and highlighting potential challenges in the workflow. We will delve into specific examples, including a detailed case study illustrating the power of digital scanning for educational purposes, and a practical demonstration of repairing a damaged specimen using 3D printing.
Examples of Successful Hybrid Taxidermy Projects
Several artists and taxidermists have pioneered the use of digital fabrication in their work. One notable example is the creation of hyperrealistic avian specimens, where 3D-printed elements are used to recreate fine details like feathers or delicate beaks, enhancing the realism and accuracy of the traditional taxidermy. In other cases, digital scanning has been used to create molds for custom-made glass eyes, resulting in more lifelike and expressive specimens. Furthermore, digital fabrication allows for the creation of bespoke display mounts, moving beyond traditional methods to offer more creative and aesthetically pleasing presentations. These projects demonstrate the potential for innovative and artistic expression within the field.
Advantages and Disadvantages of Digital Fabrication in Taxidermy
Digital fabrication offers several advantages in various aspects of the taxidermy process. For example, 3D scanning allows for the precise replication of anatomical features, ensuring accuracy and detail in the final product. This is particularly useful when working with rare or endangered species, allowing for the creation of educational replicas without harming the original. 3D printing can also be used to create custom armatures and support structures, offering greater flexibility and control over the pose and positioning of the specimen. However, digital fabrication also presents challenges. The cost of equipment and software can be a significant barrier to entry for some taxidermists. Additionally, mastering the digital design and fabrication processes requires specialized training and expertise. Furthermore, the choice of materials for 3D printing must carefully consider factors such as durability, biocompatibility, and aesthetic appeal. Finding materials that perfectly match the texture and color of the specimen can also be a challenge.
Challenges in Integrating Digital Techniques into Traditional Taxidermy Workflows
Integrating digital techniques into traditional taxidermy workflows presents unique challenges. The most significant challenge is often the need for taxidermists to acquire new skills and knowledge in digital design, 3D modeling, and fabrication. The workflow itself also requires careful coordination between traditional and digital processes. For instance, the accuracy of a 3D scan is dependent on the preparation of the specimen, highlighting the continued importance of traditional taxidermy skills. Moreover, seamlessly integrating digitally fabricated elements into the traditionally taxidermied specimen requires careful attention to detail in terms of material selection, color matching, and adhesion techniques to ensure a cohesive and natural-looking final product. Finally, ensuring the long-term stability and preservation of the hybrid specimen requires careful consideration of material compatibility and environmental factors.
Case Study: Digital Replica of a Rare Bird for Educational Purposes
This case study demonstrates the use of digital scanning to create a precise replica of a rare and endangered bird species, the Spix’s macaw (*Cyanopsitta spixii*), for educational purposes.
* Step 1: Scanning: A high-resolution 3D scan of a museum specimen was obtained using a structured-light 3D scanner. This captured the intricate details of the bird’s plumage, beak, and skeletal structure.
* Step 2: Digital Modeling: The acquired scan data was processed and cleaned in specialized software. Minor imperfections were corrected, and the model was optimized for 3D printing.
* Step 3: 3D Printing: The digital model was then 3D printed using a high-resolution resin printer, capable of reproducing fine details. The chosen resin mimicked the color and texture of the macaw’s feathers.
* Step 4: Post-Processing: The printed model underwent post-processing to refine its surface texture and enhance its realism. This included careful hand-painting to achieve accurate color and feather detail.
* Step 5: Assembly and Presentation: The finished replica was mounted on a custom-designed base, creating an accurate and visually appealing educational model. This replica can be used for educational purposes, such as museum displays or classroom teaching, without risking the original specimen.
Repairing a Damaged Taxidermied Specimen Using 3D Printing
Let’s consider a scenario where a portion of a deer’s antler is broken. To repair it, a high-resolution 3D scan of the undamaged antler is taken. This scan is used to create a digital model of the missing section. The model is then 3D printed using a durable, biocompatible resin that closely matches the color and texture of the original antler. Prior to printing, the resin may be pigmented to achieve a perfect color match. Once printed, the repaired section is carefully attached to the original antler using a strong, yet flexible, adhesive designed for use with both resin and the original antler material. The adhesive joint is then carefully painted to blend seamlessly with the surrounding area. The selection of the resin material is critical; it must be durable enough to withstand handling and display, yet flexible enough to accommodate any slight movement or expansion of the antler over time.
Wrap-Up
In conclusion, the convergence of traditional taxidermy and digital fabrication represents a significant advancement in the field. By combining the artistry of time-honored techniques with the precision and possibilities of digital tools, we achieve a new level of accuracy, creativity, and efficiency in preserving and presenting animal specimens. This hybrid approach not only allows for the restoration and enhancement of existing specimens but also unlocks exciting new possibilities for scientific research, education, and artistic expression, ensuring that the legacy of taxidermy continues to evolve and flourish in the digital age.