Preserving the beauty of nature through taxidermy requires the right tools and materials. This guide delves into the fifteen essential items every aspiring or experienced taxidermist needs, covering everything from basic implements to specialized supplies. We’ll explore their uses, maintenance, and how to select high-quality options for optimal results, ensuring your projects are both successful and aesthetically pleasing.
From preparing the animal hide to the final display, careful selection and proper use of these tools and materials are paramount. Understanding the differences between professional and beginner-level equipment will significantly impact the quality of your work and the longevity of your creations. This guide aims to provide a comprehensive understanding, helping you achieve professional-looking results regardless of your experience level.
Essential Taxidermy Tools
Taxidermy, the art of preserving animals, requires a specialized set of tools. Proper tools ensure a high-quality finished product and a safe working environment. This section details fifteen essential tools, their uses, and considerations for both beginners and professionals.
Essential Taxidermy Tools: A Comprehensive Overview
The following table Artikels fifteen essential taxidermy tools, categorizing them by name, description, use case, and material. Choosing quality tools, regardless of experience level, is crucial for achieving optimal results.
| Tool Name | Description | Use Case | Material |
|---|---|---|---|
| Scalpel | A small, sharp knife with a thin blade. | Making precise incisions during skinning. | Stainless steel |
| Scissors | Sharp-pointed scissors, ideally with curved blades. | Cutting through tissue and fur. | Stainless steel |
| Fleshing Knife | A broad, curved knife with a dull edge. | Removing fat and tissue from the hide. | Stainless steel |
| Scraper | A tool with a sharp, curved edge. | Removing remaining fat and tissue from the hide. | Stainless steel or plastic |
| Taxidermy Hook | A curved metal hook with a sharp point. | Separating the skin from the carcass. | Stainless steel |
| Bone Saw | A small saw for cutting bone. | Severing bones during the preparation process. | Steel |
| Forceps | Tweezers with various tip shapes. | Handling small parts and removing debris. | Stainless steel |
| Needle Nose Pliers | Pliers with long, narrow jaws. | Gripping and manipulating small objects. | Steel |
| Sewing Needles | Curved needles with large eyes. | Sewing up incisions and closing the skin. | Stainless steel |
| Strong Thread | High-tensile strength thread that resists breaking. | Sewing the skin. | Polyester or nylon |
| Measuring Tape | Flexible tape measure for accurate measurements. | Taking measurements for form fitting. | Fiberglass or plastic |
| Brushes | Variety of brushes for cleaning and applying preservatives. | Cleaning the hide and applying preservatives. | Synthetic bristles |
| Eye Inserts | Glass or plastic eyes for realistic appearance. | Replacing natural eyes for a finished look. | Glass or plastic |
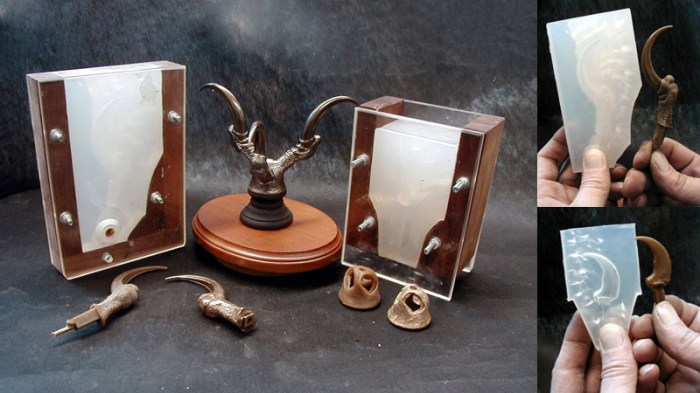
| Mannequin/Form | A sculpted form that replicates the animal’s body shape. | Providing a structure to mount the skin. | Polyurethane foam or other materials |
| Preservatives | Chemicals used to prevent decay and preserve the hide. | Preserving the hide and preventing decomposition. | Borax, salt, etc. |
Professional vs. Beginner Taxidermy Tools
The difference between professional and beginner taxidermy tools primarily lies in quality of materials and manufacturing precision. Professional tools are generally made from higher-grade stainless steel, resulting in greater durability and sharpness retention. They often feature ergonomic designs for enhanced comfort and control during extended use. Beginner tools may be made from less durable materials, potentially dulling faster and requiring more frequent replacement.
| Feature | Professional-Grade | Beginner-Grade | Price Point Difference |
|---|---|---|---|
| Material | High-grade stainless steel, ergonomic handles | Standard stainless steel, basic handles | Significantly higher |
| Sharpness Retention | Excellent, maintains sharpness for longer periods | Moderate, may require more frequent sharpening | – |
| Durability | Very high, withstands repeated use | Moderate, prone to wear and tear | – |
| Ergonomics | Superior, designed for comfort and precision | Basic, may cause hand fatigue | – |
| Price | Substantially higher initial cost | Lower initial cost | Can be double or triple the price |
Proper Handling and Maintenance of Taxidermy Tools
Regular cleaning and maintenance are vital to prolong the lifespan of taxidermy tools. After each use, tools should be thoroughly cleaned with soap and water, then dried completely to prevent rust and corrosion. Sharp tools, such as scalpels and fleshing knives, should be stored separately in protective sheaths to avoid accidental injury and damage. Regular sharpening is essential for maintaining optimal performance. Visual inspection for damage or wear points is crucial; replacing worn or damaged tools promptly minimizes risks. For instance, a scalpel blade’s edge should be consistently sharp; a dull blade increases the risk of tearing the hide. Similarly, a fleshing knife’s curved blade can become nicked or chipped, affecting its effectiveness in removing fat. Proper storage, including keeping tools dry and free from moisture, prevents rust.
Selecting and Utilizing Taxidermy Materials
Selecting the right taxidermy materials is crucial for achieving a high-quality, lifelike representation of the animal. The choice of materials directly impacts the final product’s durability, appearance, and overall realism. Using inferior materials can lead to discoloration, damage, and a less-than-satisfactory result. This section will explore essential materials and their proper application.
High-quality materials are paramount for a successful taxidermy project. The longevity and aesthetic appeal of your finished piece are directly tied to the quality of the materials used. For instance, choosing a superior tanning solution will ensure the hide remains supple and resistant to deterioration, whereas a lower-grade solution might lead to brittleness and cracking over time. Similarly, using durable mounting forms ensures the pose remains stable and doesn’t sag or warp.
Essential Taxidermy Materials
The following fifteen materials represent a core set for most taxidermy projects. Their categorization helps organize the process and highlights their individual functions within the overall workflow.
- Preservation: Borax, Non-iodized salt, Formaldehyde (use with caution and proper ventilation), Insect repellent
- Tanning: Tanning solution (e.g., chrome tan, alum tan), Neutralizing solution
- Mounting: Mannequin forms (eyes, jaw sets, and body forms), Mounting pins, Wire, Artificial eyes
- Finishing: Taxidermy paints (acrylics are recommended), Brushes, Sealant (to protect the finished piece from environmental factors), Clay (for sculpting and filling), Dental floss (for sewing and detail work)
Material Selection and Comparison
Different tanning solutions offer varying properties. Chrome tanning, for example, is a popular choice due to its effectiveness in preserving the hide’s flexibility and preventing decay. However, it requires careful handling and proper neutralization to avoid damaging the hide. Alum tanning, a more traditional method, results in a softer, more pliable hide but may be less resistant to long-term degradation. The choice depends on the specific project and the taxidermist’s experience level. Similarly, high-quality mannequin forms, made from durable materials, will provide a stable base for the mount, unlike cheaper alternatives that might warp or break over time.
Step-by-Step Material Application
The following steps illustrate a typical workflow incorporating these materials. Remember that specific techniques might vary depending on the animal and the taxidermist’s preferred methods.
- Preservation: Begin by properly preserving the animal’s hide. This involves using borax and salt to draw out moisture and inhibit bacterial growth. Insect repellent helps prevent damage from insects during the drying process. Formaldehyde, if used, should be handled with extreme caution in a well-ventilated area due to its toxicity.
- Tanning: Once the hide is properly preserved, it is tanned using a chosen tanning solution according to the manufacturer’s instructions. This process transforms the hide into a stable, durable material. Neutralization is essential to remove residual chemicals from the tanning process, ensuring the hide’s long-term integrity.
- Mounting: The tanned hide is then carefully fitted onto a pre-selected mannequin form. Wire and mounting pins are used to secure the hide in place, recreating the animal’s natural posture. Artificial eyes are inserted to add realism.
- Finishing: Once mounted, the taxidermist uses clay to sculpt and refine details. Paints are applied to restore the animal’s natural coloration, and a sealant is applied to protect the finished piece from UV damage and moisture.
Advanced Techniques and Considerations in Taxidermy
Taxidermy, while seemingly straightforward, involves a nuanced understanding of anatomy, preservation techniques, and artistic presentation. Mastering these aspects elevates a simple preservation to a true work of art. This section delves into advanced techniques specific to different animal types, addresses common challenges, and guides you through the creation of a custom display base.
Preparing Different Animal Types for Taxidermy
Proper preparation varies significantly depending on the animal’s characteristics. Failing to account for these differences can result in poor preservation and an unnatural-looking final product. Careful attention to detail is crucial for each stage.
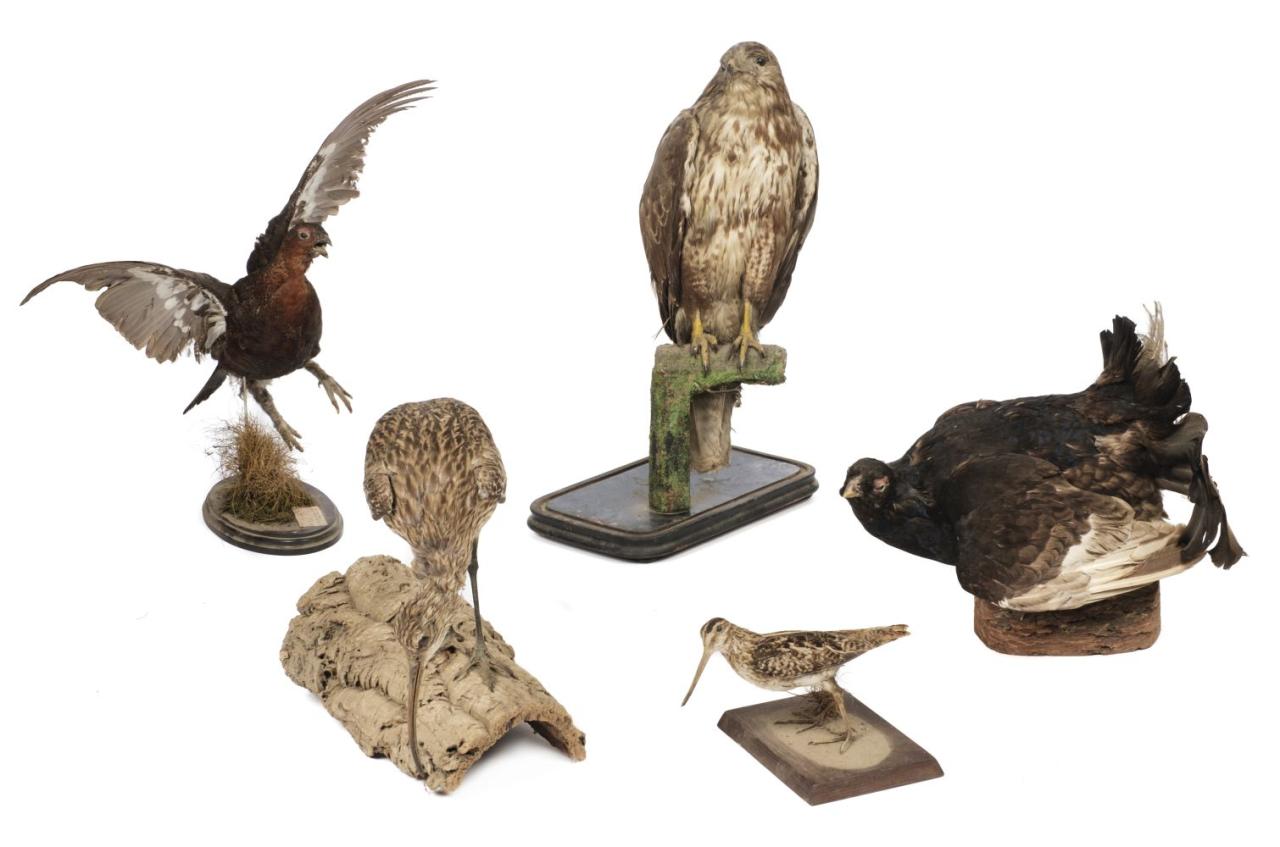
- Birds: Begin by carefully removing the skin, taking extra care around the delicate wings and legs. Proper preservation of the skull and beak is essential. Accurate measurements and form placement are key to achieving a natural pose. Artificial eyes are often used to replace the natural ones. Final shaping and feather placement require patience and attention to detail.
- Mammals: The process for mammals often involves a more extensive fleshing process, requiring careful removal of all muscle and fat tissue. Accurate measurements are crucial for selecting the appropriate form. Special attention should be paid to the positioning of the ears, eyes, and nose for a lifelike appearance. The tail requires careful shaping and positioning.
- Fish: Fish taxidermy often involves creating a mold of the fish’s body. This mold is then used to create a replica, which is then skinned and the replica is carefully inserted into the skin. The eyes, fins, and gills require special attention to detail. Proper preservation techniques help maintain the fish’s natural coloration and texture.
Troubleshooting Common Taxidermy Problems
Several issues can arise during the taxidermy process. Recognizing these problems and implementing effective solutions is crucial for a successful outcome.
| Problem | Solution |
|---|---|
| Skin Slippage | Proper tanning and application of preservatives, ensuring the skin is adequately dried before mounting. |
| Insect Infestation | Thorough cleaning and application of insecticides before and during the preservation process; storage in a cool, dry, and insect-free environment. |
| Warping or Shrinking of the Skin | Careful fleshing, proper tanning, and avoidance of excessive heat during the drying process. |
| Uneven Drying | Proper stuffing and padding to ensure even distribution of the drying process. |
Creating a Custom Display Base
A well-designed base enhances the overall presentation of the taxidermied animal. This process allows for customization and complements the specimen.
The creation of a custom base begins with careful planning and material selection. Materials might include wood (e.g., pine, oak), foam, acrylic, or a combination. Consider the size and weight of the mounted animal when selecting materials. Tools needed could include a saw, drill, sandpaper, wood glue, paint, and sealant.
The construction process involves creating the base structure, shaping and smoothing it, and then adding details. For example, a woodland scene might involve sculpting small trees and shrubs from foam and then painting and texturing them to resemble real plants. A rocky base could be achieved using sculpted epoxy putty or carefully arranged stones. The final step involves finishing the base with paint, stain, or other suitable finishes, ensuring it’s protected with a sealant to preserve the aesthetics and protect against damage. The color scheme should complement the animal’s coloration and the overall aesthetic should be considered to create a harmonious and visually appealing display.
Final Conclusion

Mastering the art of taxidermy involves more than just skill; it requires the right tools and materials. This exploration of fifteen essential items highlights the importance of careful selection and proper maintenance. By understanding the nuances of each tool and material, you can confidently tackle various projects, creating lasting tributes to the natural world. Remember that practice and attention to detail are key to achieving exceptional results in this rewarding craft.